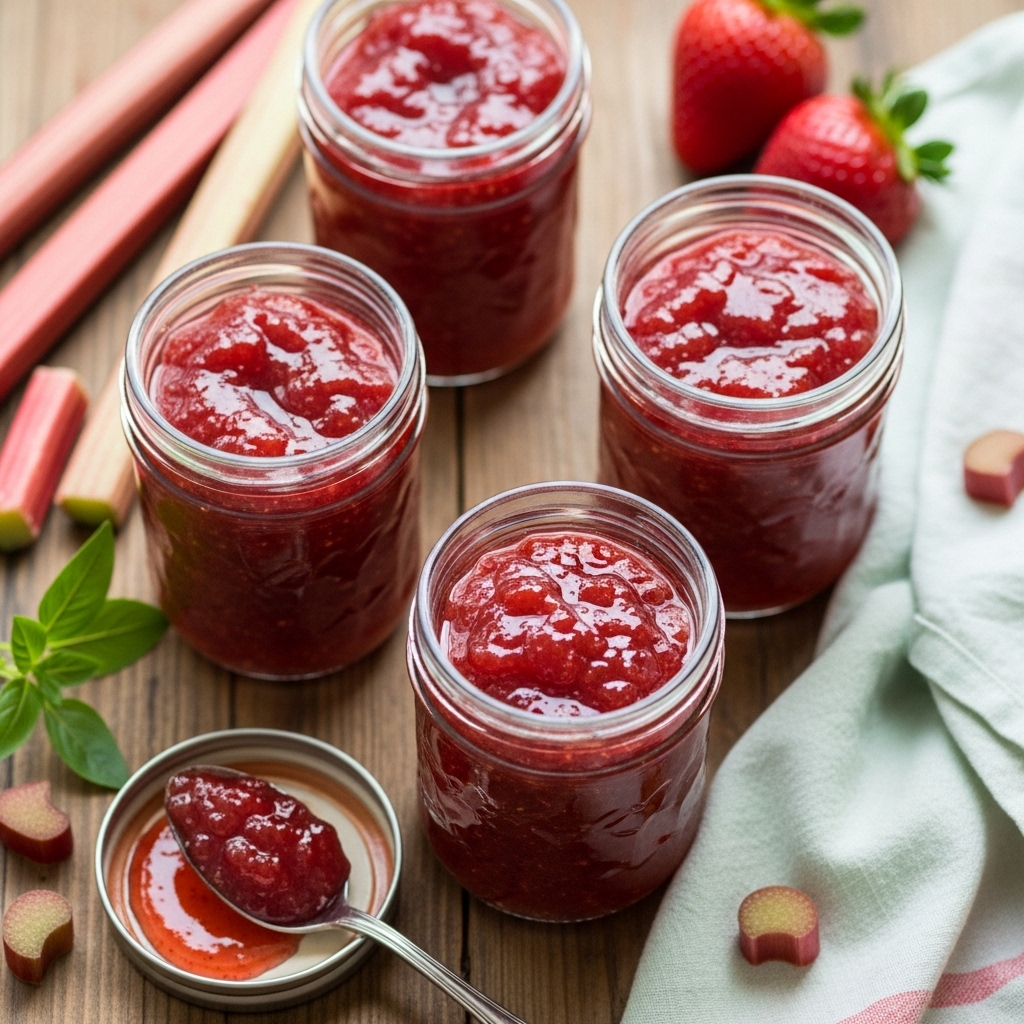
Strawberry Rhubarb Jam
Strawberry Rhubarb Jam: The Sweet & Tart Love Story You Didn’t Know You Needed
Okay, but has anyone else ever just made a jam and felt like a total genius?! Like, you’re just hanging out in the kitchen and suddenly, BOOM — you’re basically a food wizard. Seriously, if you haven’t made jam before, you’re missing out on this glorious mess of sweet and tangy goodness.

So, let’s talk about this strawberry rhubarb jam. Y’all, it’s the simplest thing but has this crazy depth of flavor that just hits all the right spots. And it’s got that perfect balance of sweet and tart. I just wanna spread it on every piece of toast I can find (or honestly eat it with a spoon… no shame).
Okay, Let’s Talk Ingredients
Alright, so let’s hit the grocery store together, shall we? Here’s what you need to grab:
– Rhubarb: 4 ½ cups, chopped into these cute little ½ inch pieces. You can usually find it in the produce section, and it looks like pink celery!
– Strawberries: 4 ½ cups (they gotta be halved, of course). The riper, the better!
– Sugar: 4 cups. Yep, that’s right. We’re going all in here, folks.
– Lemon Juice: ¼ cup of that bottled goodness. I mean, fresh is fab, but let’s keep it real.
It’s like a little fruit party and you’re the host!
So Here’s Why I Make This Constantly
Okay, real talk — this jam is basically a love letter to my childhood summers. My grandma used to whip it up every year when the strawberries and rhubarb were in season, and I swear the kitchen was like a fairy-tale land of sweet smells and sticky fingers. I remember trying to sneak in tastes while she wasn’t looking. (She caught me once and let me have a whole spoonful — best day ever!) Now, whenever I make it, I feel like she’s right there with me, stirring the pot and rolling her eyes at my chaos.
Right, so on to the fun part…
The One Trick That Changes Everything
Here’s my game-changer for this jam: LET THE RHUBARB AND SUGAR SIT! Like, seriously—just let it chill for 2 hours before cooking! It’ll get all juicy and syrupy, and the flavors deepen like a fine wine. It’s like magic, I swear. You’ll thank me later!
Don’t Mess This Up (My Top Tips)
Okay, listen up! Here’s how to avoid my rookie mistakes:
1. Don’t skip the stirring: Seriously, if you walk away for even a second, the bottom can scorch. Nobody wants burnt jam.
2. Candy thermometer: Get one, trust me. It takes the guesswork outta the whole thing. Aim for 220°F!
3. Foam be gone: Skimming foam is crucial! Just do it. Your jam will thank you.
How to Keep Them From Disappearing (Or, How to Store Them)
So, you’ve made this fab jam and now you wanna store it, right? Cool! Make sure to sterilize your jars (hot water is your BFF here) and leave a little headspace when you fill them up. Oh, and don’t forget the water bath method! Kinda a pain but so worth it in the end — those jars will last up to a year! Who knew you could hoard jam?
If You Liked This, You’ll Probably Like These Too
If you’re feeling this jam vibe, you’ll definitely wanna try my:
– Blueberry Basil Jam: Sweet, herbaceous, and just out of this world!
– Peach Ginger Preserves: Like summer in a jar, and the ginger gives it a little kick!
– Classic Raspberry Jam: Because sometimes you just gotta stick with the classics!
###
Alright, so now I wanna know — what’s your favorite jam flavor? Do you have any wild childhood memories about it? Let’s swap stories! 🍓💖
Strawberry Rhubarb Jam
Flavor-packed Strawberry Rhubarb Jam with amazing ingredients and incredible taste! Perfect for any occasion.
15 minutes
30 minutes
2 hours
Ingredients
- 4 ½ cups rhubarb, cut in ½ inch pieces
Instructions
- Mix rhubarb and sugar in a large heavy pot and let stand for 2 hours.
- Stir in lemon juice and strawberries and bring the mixture to a boil, stirring to dissolve sugar. Cook jam at a full rolling boil until thickened, stirring often to prevent scorching (approximately 20 minutes) until a candy thermometer reads 220°F at the center of the mixture.
- Remove jam from heat and stir to skim off any foam.
- Sterilize your 8oz canning jars and fill them with the jam, leaving ¼ inch of head space. Be sure to run a plastic knife along the inside of the jars to remove any air bubbles. Wipe the rims of the jars with a moist towel to remove any residue. Top with lids and screw on the bands.
- Using the water bath method, lower the jars into boiling water, making sure that the water is at least one inch above the top of the jars. Bring the water back to a full boil and process for 10 minutes.
- Remove the jars from the pot and place onto a thick towel to cool. Wait for 24 hours before storing, making sure each jar sealed by pressing the top of each lid with a finger, that the lid does not move up or down at all. Store in a cool, dry place for up to 1 year.