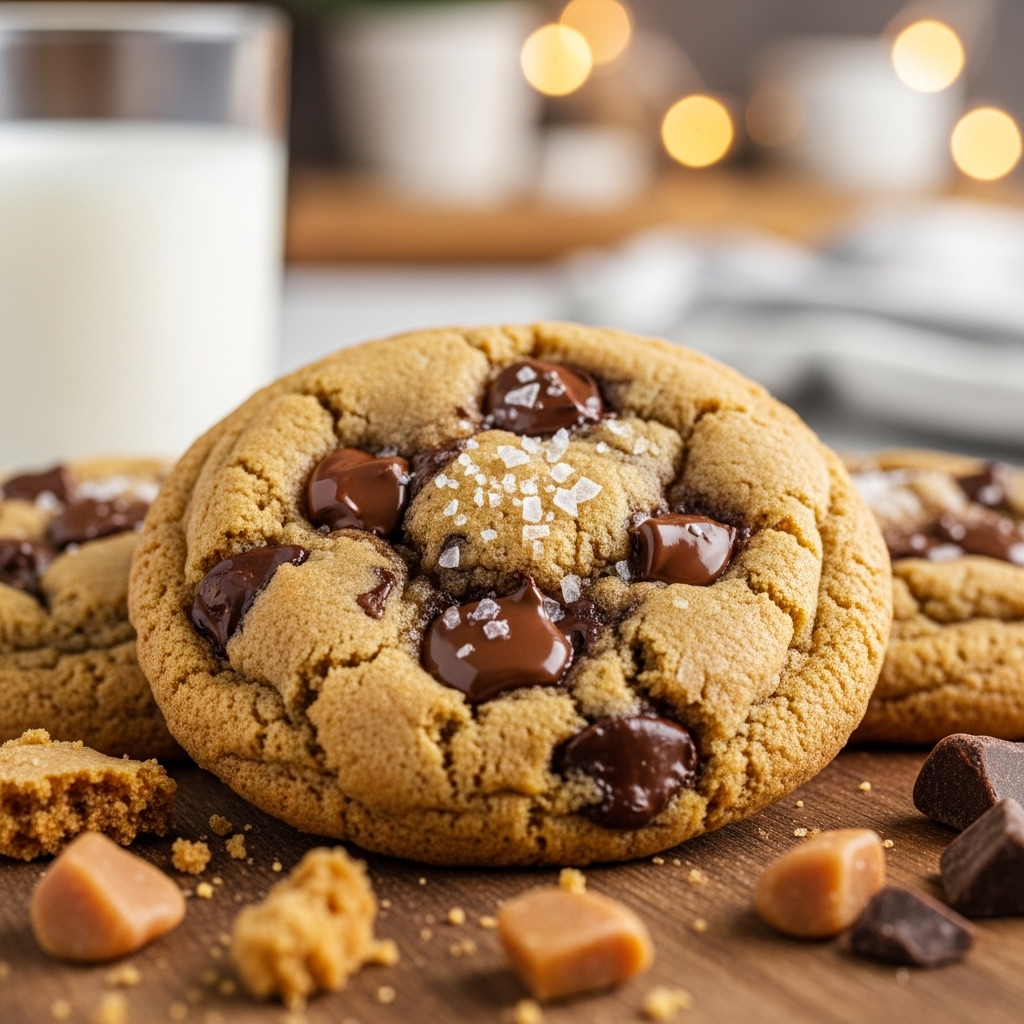
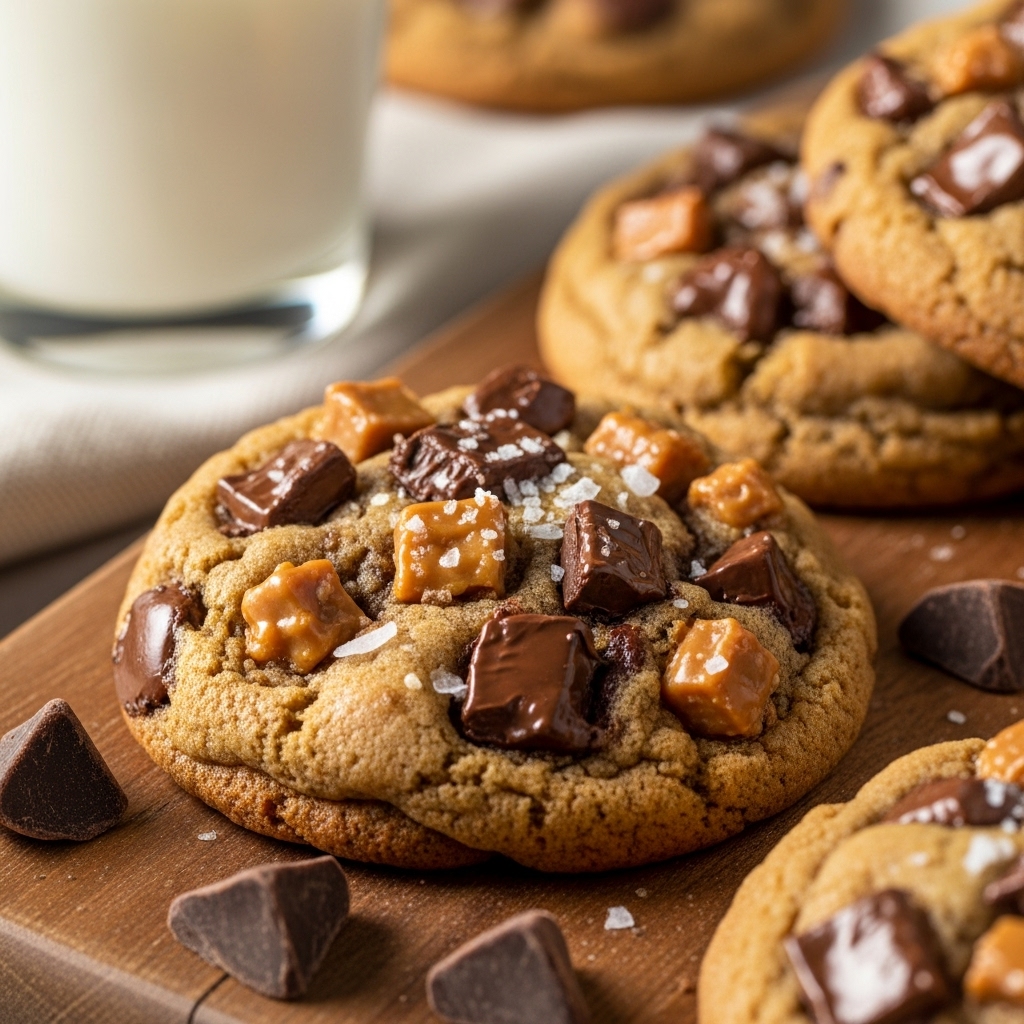
Browned Butter Toffee Chocolate Chip Cookies
My Go-To Dessert That Always Steals the Show (Browned Butter Toffee Chocolate Chip Cookies)
There’s a magic moment that happens when you’re hosting friends or family—a moment when you glance around the room, and everyone is enjoying themselves, laughter fills the air, and you realize you’ve created something special. But let’s be honest, as much as we want to be the effortless host, the pressure of preparing an unforgettable dessert can make anyone feel a bit anxious. I remember a gathering last fall when I decided to showcase my baking skills after a long hiatus. I wanted to impress everyone, but the mere thought of making something fancy left me feeling overwhelmed. That’s when I stumbled upon the recipe for these TikTok VIRAL Browned Butter Toffee Chocolate Chip Cookies. This recipe is a total game-changer—not only does it solve the dilemma of needing a showstopper dessert, but it also ensures that I can actually enjoy my own party rather than being stuck in the kitchen!
These cookies are my secret weapon. Trust me, when you’re serving these heavenly bites of nutty, chewy goodness, you’ll be the one receiving compliments left and right, and the best part? They’re surprisingly easy to make.
Why These Are Cookie Gold
– Flavor Explosion: The rich, nutty flavor from the browned butter combined with the sweet toffee bits creates a cookie experience that’s just divine.
– Make-Ahead Magic: This dough can be refrigerated for up to 72 hours, meaning you can prep early and bake fresh cookies whenever the mood strikes.
– Textural Heaven: The combination of bread flour and all-purpose flour gives each cookie a perfect chewy texture that keeps you coming back for more.
– Crowd Pleasers: With 25 large cookies per batch, there’s plenty to go around without breaking a sweat.
– Rave Reviews: My friend Lisa, who claims to be a baking connoisseur, couldn’t believe these cookies were homemade! She insisted I share the recipe with everyone she knows.
Essential Components
To create these cookies, you’ll want to gather a few key ingredients that truly elevate the final product:
– Unsalted Butter: The star of the show! Browning the butter adds a nutty depth that is simply unmatched.
– Granulated & Dark Brown Sugar: The granulated sugar gives sweetness, while the dark brown sugar contributes moistness and a hint of caramel flavor.
– All-Purpose & Bread Flour: The combination yields that perfect chewy texture that you crave in a cookie.
– Baking Soda & Baking Powder: These leavening agents work wonders, giving lift while maintaining that soft, chewy bite.
– Fine Sea Salt: A sprinkle of salt enhances the sweetness and rounds out the flavors beautifully.
– Instant Espresso Powder: While optional, it intensifies the chocolate flavor, making your cookies even more decadent.
– Chocolate & Toffee Bits: You can never go wrong with melty chocolate and crunchy toffee—they complement each other perfectly.
– Flaky Sea Salt: A final sprinkling before serving adds a sophisticated touch and a burst of flavor that takes these cookies to the next level!
*Note: You’ll find the complete list of ingredients, along with their exact measurements, in the printable recipe card at the bottom of this post.*
Creating Cookie Magic
Let’s dive into the steps to create these delicious cookies that will have your friends raving.
1. Brown the Butter: In a medium sauté pan over medium heat, melt the 2 sticks of unsalted butter, swirling occasionally. Listen closely as the butter crackles and pops; it’s like music to a baker’s ears! Once it turns a gorgeous amber color and gives off a nutty aroma, pour it into a mixing bowl, making sure to scrape up those tasty brown bits at the bottom.
2. Mix the Sugars: Add the granulated and brown sugars to the warm butter, mixing until well combined. Let this sit aside to cool to room temperature—patience is key!
3. Combine Dry Ingredients: In a separate bowl, whisk together the all-purpose flour, bread flour, baking soda, baking powder, sea salt, and optional espresso powder. Set this aside for later.
4. Incorporate Eggs & Vanilla: Once your butter-sugar mixture is cool, whisk in the eggs and vanilla until fully incorporated.
5. Combine Wet & Dry: Gradually add the flour mixture to the wet ingredients using a rubber spatula. Gently fold in the chopped semisweet chocolate and toffee bits until evenly distributed. This is the moment you’ll want to taste the dough—don’t worry, I won’t tell!
6. Chill the Dough: Wrap the dough in plastic wrap and refrigerate for at least 24 hours but no more than 72 hours. This step is crucial for developing flavor—trust me!
7. Prep to Bake: When ready to bake, let the dough sit at room temperature for about an hour, just until it’s soft enough to scoop. Preheat your oven to 350°F and line your baking sheets with parchment paper.
8. Scoop and Freeze: Using a large cookie scoop, portion the dough into 3-tablespoon-sized balls and drop them onto the prepared baking sheets. If you’d like, you can freeze some of the dough at this point for future cravings!
9. Bake Away: Bake for 12-14 minutes or until they are golden brown. The moment they come out of the oven, sprinkle with flaky sea salt for that extra touch.
10. Cool and Enjoy: Let the cookies cool for two minutes before transferring them to wire racks to cool completely. Try to resist the urge to eat them all at once—they’re best shared!
Insights & Why It Works
These cookies are not just a treat; they are a celebration of flavors and textures that make them truly special. The process of browning the butter creates a rich, nutty flavor that you just can’t replicate with plain butter. It’s those little brown bits—full of flavor—that transform an ordinary cookie into something extraordinary.
The combination of all-purpose flour and bread flour is also a game-changer. The bread flour’s higher protein content gives your cookies that perfect chew, while the all-purpose flour balances it out to make sure they don’t become too dense.
Let’s not forget about the toffee bits! Their buttery sweetness and crunchy texture contrast perfectly with the soft, gooey chocolate. Every bite is like a warm hug from an old friend, reminding you of cozy afternoons spent in the kitchen.
As I perfected this recipe, I learned the value of chilling the dough. It not only develops deeper flavors but also helps the cookies maintain their shape while baking. Take my advice: don’t rush this step!
Perfect Cookie Presentation
When serving these beauties, presentation is key! Arrange them on a large platter, perhaps accompanied by a scoop of vanilla ice cream or a drizzle of caramel sauce for an extra indulgence. You could also serve them alongside a warm cup of coffee or a glass of cold milk. A few fresh mint leaves as a garnish adds a pop of color and freshness to the display.
Creative Variations
What I love about this cookie recipe is its versatility. Here are some fun twists to consider:
– Nutty Addition: Toss in some chopped pecans or walnuts for a crunchy texture that complements the toffee.
– Different Chocolates: Mix up the chocolate by using dark chocolate or white chocolate chunks for a different flavor profile.
– Dried Fruits: Add a handful of dried cranberries or cherries for a sweet and tangy contrast against the toffee and chocolate.
– Spice It Up: A sprinkle of cinnamon or a dash of chili powder can give an exciting twist to the flavor.
– Vegan Version: Substitute the butter for a plant-based alternative and use flax eggs for a fun, inclusive twist!
Make-Ahead Magic
One of the best parts about these cookies is the make-ahead aspect. You can prepare the dough in advance, wrap it well, and store it in the fridge for up to 72 hours, or freeze it for up to six weeks! Just remember to let the dough sit at room temperature for about an hour before you scoop and bake. This way, you can create the perfect batch without any day-of stress, allowing you to enjoy the company of your guests rather than being stuck in the kitchen.
Cookie Success Tips
– Don’t Skip Browning the Butter: It’s what makes these cookies so addictive—trust me on this!
– Chill the Dough: The longer you chill, the better the flavor and texture will be.
– Use a Cookie Scoop: This ensures all your cookies are uniform in size and bake evenly.
– Don’t Overbake: They should look slightly underbaked when you take them out; they’ll continue to cook on the baking sheet after you remove them from the oven.
Final Thoughts
As I sat back at that gathering last fall, surrounded by friends all raving about the cookies I had made, I realized that baking doesn’t have to be daunting. With this Browned Butter Toffee Chocolate Chip Cookie recipe in my back pocket, I felt like a true culinary wizard. This recipe not only solves the problem of needing a crowd-pleasing dessert but also allows you to be present and enjoy the beautiful moments spent with loved ones. So, next time you’re hosting, whip these up to impress your guests, feel effortless, and savor the sweet taste of success!
Frequently Asked Questions
Can I make these the night before?
Absolutely! You can prepare the dough a day in advance and bake them fresh the next day.
How do I prevent the cookies from spreading too much?
Chilling the dough is key! Make sure to refrigerate it for at least 24 hours and don’t skip the step of letting it sit at room temperature just until soft.
Can I use different types of chocolate?
Yes! Feel free to experiment with dark, milk, or even white chocolate for a different flavor experience.
What’s the difference between granulated and brown sugar?
Granulated sugar is more refined and contributes to crispness, while brown sugar contains molasses, adding moisture and a deeper flavor. Using both creates a balanced cookie.
How should I store the cookies?
Keep them in an airtight container at room temperature for up to three days. If you want to keep them longer, freeze the baked cookies and reheat them in the oven for a few minutes.
So, are you ready to bake the best cookies ever? I can’t wait for you to try these out and watch your guests fall in love with them, just like mine did!