Spider Web Brownies
Bewitchingly Delicious Spider Web Brownies (The Ultimate Halloween Dessert)
As the leaves turn and the air begins to feel crisp, there’s a certain magic in the air. Fall is here, and with it comes Halloween—a season of spooky fun, pumpkin spice everything, and, of course, delicious treats. I remember one Halloween, back when my kids were young, we decided to host a neighborhood costume party. Little witches and goblins roamed our backyard, but there was one problem: I was so busy ensuring the kids were entertained that I completely forgot about dessert! With just an hour before the party began, I needed a treat that was not only quick to make but also visually captivating to wow our guests. That’s when my Spider Web Brownies became the star of the evening, saving the day and giving me the chance to be the supermom I’d always aspired to be.
These brownies are a perfect solution for any Halloween gathering or fall-themed bash—soft, chewy, and topped with an adorable spider web design that’s sure to delight children and adults alike. Let’s dive into why these brownies are a baking game-changer.
Why These Are Halloween Dessert Gold
– Quick and Easy: With 20 minutes of prep and just 25-30 minutes in the oven, you can whip these up in no time. Perfect for last-minute baking emergencies!
– Crowd-Pleaser: Who doesn’t love brownies? Add a little Halloween flair, and you’ve got a dessert that everyone will rave about.
– Make-Ahead Option: Bake them a day in advance, and they’ll be just as soft and delicious when it’s time to serve—less stress for you on the big day.
– Customizable Design: The spider web decoration is not only fun but also a great way to get the kids involved in the kitchen.
– Impressive Presentation: You’ll look like a dessert wizard, even if the recipe is deceptively simple. Friends will be begging for the recipe!
I’ll never forget the look on my neighbor Cindy’s face when she bit into one of these brownies at our party. “You made these?!” she exclaimed, wide-eyed and impressed. It felt fantastic to see everyone enjoying something that had come together so easily!
Essential Components
The ingredients for these Spider Web Brownies are pretty straightforward, but each one plays a crucial role in achieving that perfect chewy texture and delicious flavor.
– 1 cup butter: This is the secret to achieving that melt-in-your-mouth texture. Butter adds richness and moisture that makes these brownies unforgettable.
– ¾ cup cocoa powder: The heart of the brownie, cocoa powder gives these treats their deep chocolate flavor, making every bite decadent.
– 4 large eggs: Eggs are essential for binding the ingredients and providing that luscious, fudgy consistency that we all crave in a brownie.
– 2 cups sugar: A generous amount of sugar not only sweetens the brownies but also contributes to their chewy nature.
– 3 tablespoons vegetable oil: Adding a bit of oil helps keep the brownies moist and tender.
– 2 teaspoons vanilla extract: A splash of vanilla enhances the chocolate flavor, bringing everything together harmoniously.
– 1½ cups all-purpose flour: The backbone of any brownie, flour gives structure without being too dense.
– 1 teaspoon baking powder: This adds just the right lift, ensuring your brownies are soft and not too flat.
– 1 teaspoon salt: Salt is a flavor enhancer that balances the sweetness, making the chocolate taste even richer.
– ⅓ cup white chocolate chips (melted): These chips are used for the spider web decoration and add a touch of sweetness that complements the dark chocolate perfectly.
Note: You’ll find the complete list of ingredients, along with their exact measurements, in the printable recipe card at the bottom of this post.
Creating Spider Web Brownies Magic
Let’s get started on these delightful brownies that will surely charm your guests.
1. Preheat the Oven: First things first, preheat your oven to 350°F (175°C). Line a 9×13 inch pan with foil and give it a spray with cooking spray. This ensures easy removal once the brownies are baked.
2. Melt the Butter: In a medium saucepan, melt the butter over low heat. Once it’s all melted and dreamy, remove it from the heat and stir in the cocoa powder until well combined. Set aside to cool slightly.
3. Whip Up the Batter: In a large mixing bowl, beat the eggs, sugar, and vegetable oil together until the mixture is light and foamy. It’s like turning liquid sunshine into brownie magic! Now, mix in your butter and cocoa mixture along with the vanilla extract. Stir until it’s beautifully smooth.
4. Combine the Dry Ingredients: In a separate medium bowl, mix the flour, baking powder, and salt. Once combined, add this dry mixture to the wet ingredients and stir just until you don’t see any more flour. Be careful not to overmix, as this can make your brownies tough.
5. Bake to Perfection: Pour the brownie batter into your prepared pan, smoothing it out with a spatula. Bake in the preheated oven for 25-30 minutes. The brownies are done when a toothpick inserted in the center comes out clean. Allow them to cool completely in the pan.
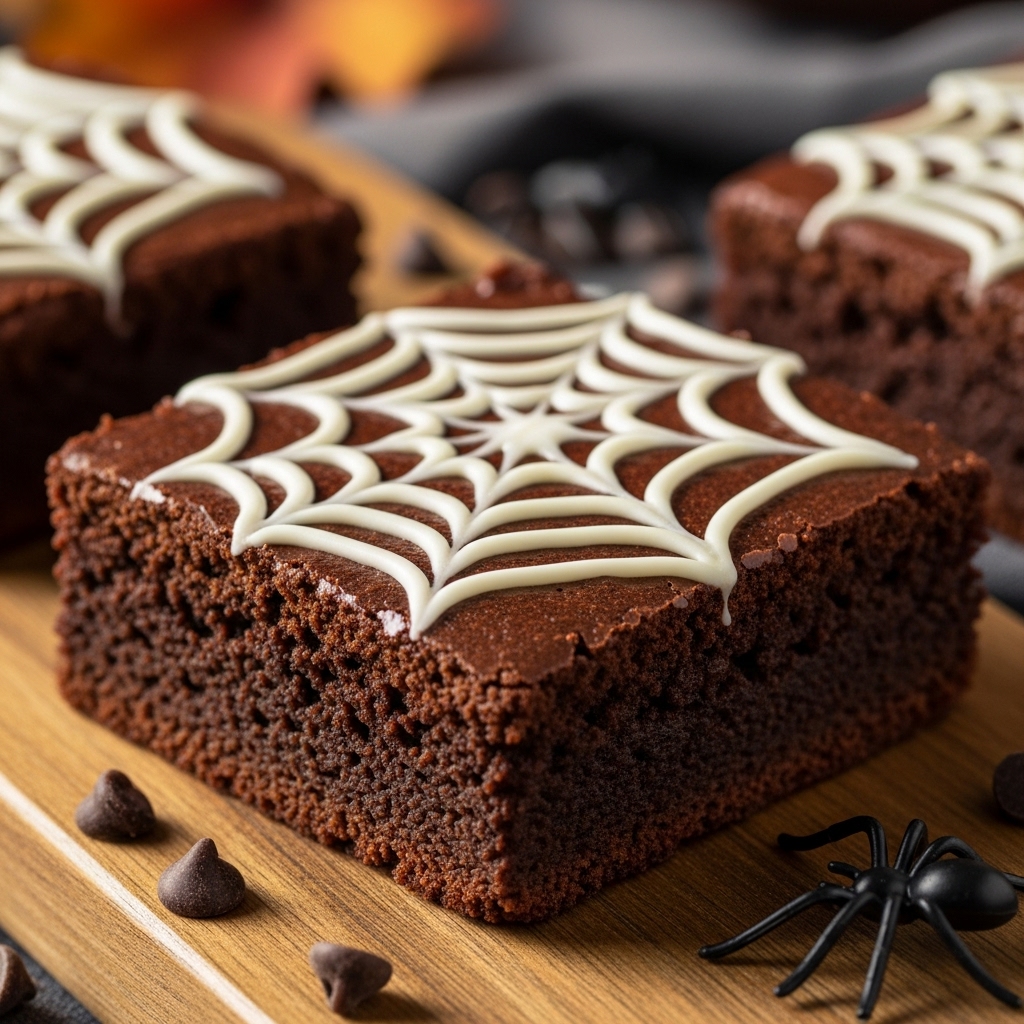
6. Decorate with Spider Webs: For the delectable decoration, melt the white chocolate chips in a microwave-safe bowl until smooth. Pour the melted chocolate into a small ziplock bag, snip off one corner, and pipe the chocolate in a spider web pattern over the cooled brownies. Serve immediately, or store in an airtight container for up to 3-5 days.
Insights & Why It Works
The magic of these Spider Web Brownies lies not only in their deliciousness but in their simplicity. The melted butter and cocoa mixture creates a rich foundation, while the combination of eggs and sugar gives just the right amount of fluffiness without losing that essential brownie fudginess. It’s the kind of recipe that, once mastered, can easily be adapted for different occasions. Just swap the decorations for a birthday theme, and you’re good to go!
One of my favorite “aha!” moments while perfecting this recipe was discovering the power of letting the brownies cool completely before cutting them. I used to dive in too early, only to end up with messy squares. Allowing them to cool ensures clean edges and a beautiful presentation, which will make you look like a pro.
Perfect Halloween Presentation
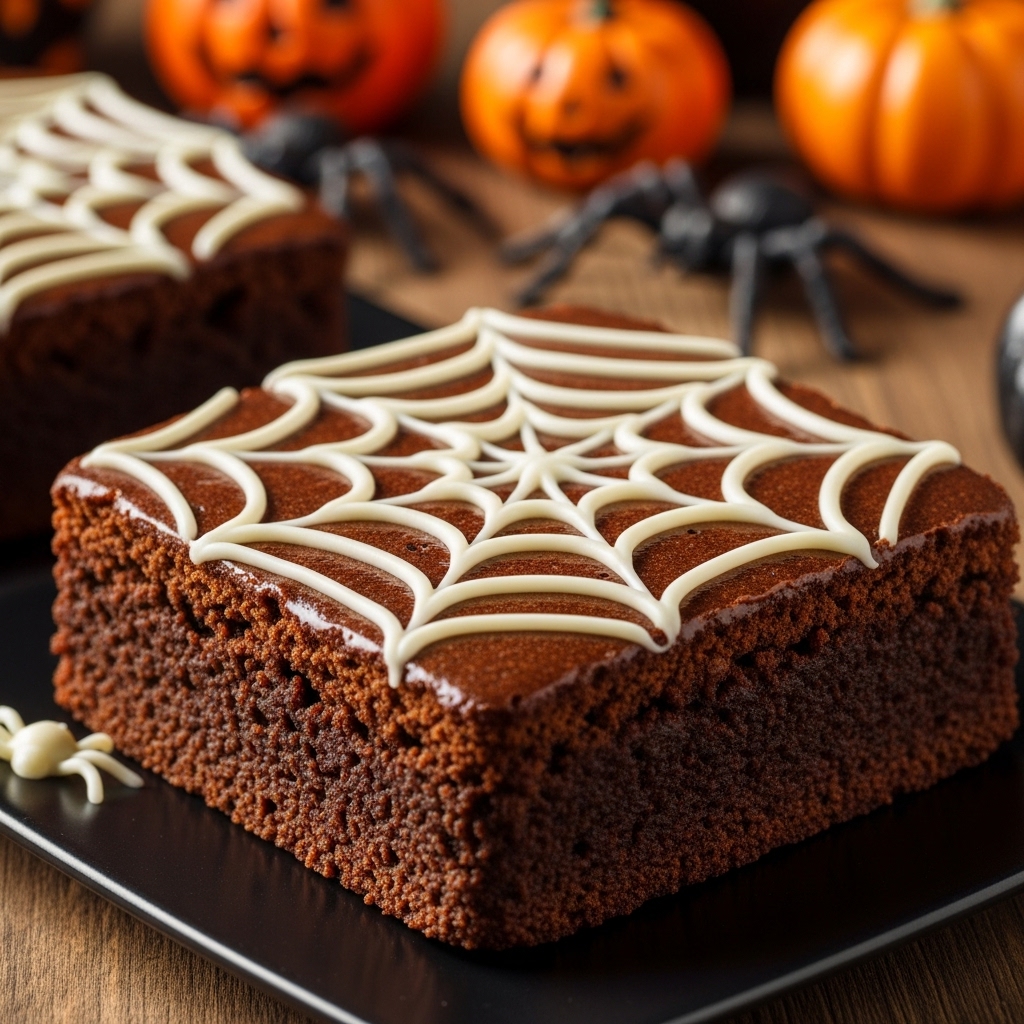
When it comes to presenting these treats, the sky’s the limit! Consider serving them on a spooky-themed platter or placing them in cute cupcake liners for an extra festive touch. Pair them with a scoop of vanilla ice cream to create an indulgent dessert experience, or stack them on a cake stand for a dramatic effect. Don’t forget to add some gummy spiders or other Halloween candies around them for an extra festive flair!
Creative Variations
There are so many ways to get creative with these brownies! Here are a few ideas to mix it up:
– Nutty Delight: Add chopped nuts like walnuts or pecans for a delightful crunch.
– Minty Fresh: Stir in a teaspoon of peppermint extract and top with crushed candy canes for a refreshing twist, perfect for the holiday season.
– Double Chocolate: Substitute half of the all-purpose flour with cocoa powder for an extra chocolatey treat.
– Spooky Sprinkles: Instead of piping a spider web, scatter some festive Halloween sprinkles on top before the chocolate hardens.
– Caramel Swirl: Drizzle some caramel sauce into the batter before baking for a gooey surprise.
Make-Ahead Magic
What makes these brownies a true lifesaver is the ability to make them ahead of time. Bake them the day before your gathering, let them cool completely, cover them tightly, and store them in an airtight container. On the day of the event, simply pipe on the spider webs, and you’re ready to impress your guests without breaking a sweat. This way, you can focus on the fun part of hosting—enjoying the company of friends and family!
Spider Web Brownie Success Tips
– Don’t overbake: Keep an eye on your brownies to ensure they don’t dry out. Aim for that perfect fudgy texture!
– Cool completely: Allow the brownies to cool fully before cutting to achieve clean, neat squares.
– Use quality cocoa: A high-quality cocoa powder makes a noticeable difference in flavor.
– Experiment with toppings: Get creative! The spider web is just the beginning—let your imagination run wild with decorations.
Final Thoughts
As I reminisce about that Halloween party, I feel a warm sense of nostalgia wash over me. The laughter of children running around, the delighted smiles of neighbors enjoying my brownies, and the joy of feeling organized—all thanks to my trusty Spider Web Brownies. These treats have become a staple in my fall baking repertoire, proving time and time again that a little creativity and some simple ingredients can turn a regular dessert into something truly special. So, whether you’re hosting a spooky soirée or simply craving something sweet, I hope you give these brownies a try. They’ll make you look effortlessly competent—and who doesn’t want that? Happy Halloween baking!
Frequently Asked Questions
Can I make these the night before?
Absolutely! In fact, these brownies taste even better the next day once the flavors have had a chance to meld.
How do I prevent the brownies from sticking?
Make sure to line your pan with foil and spray it with cooking spray. This will ensure easy removal.
Can I use different chocolate for the spider web?
Yes! You could use dark chocolate or milk chocolate for a different flavor profile; just make sure to melt it before piping.
What’s the difference between all-purpose flour and cake flour in brownies?
All-purpose flour gives brownies a chewy texture, while cake flour will yield a lighter, fluffier brownie. Stick with all-purpose for that classic fudgy brownie!
Can I add anything else to the brownie batter?
Absolutely! Feel free to incorporate mix-ins like chocolate chips, nuts, or even some dried fruit for an interesting twist.