No-Bake Cookies
My Favorite Stress-Free Cookies for Any Occasion (No-Bake Cookies)
Ah, the age-old struggle of wanting to whip up a sweet treat without turning on the oven. It seems like every time I’m gearing up for a gathering, I find myself caught in the whirlwind of cooking and baking, desperately trying to impress my guests while simultaneously wishing I could enjoy the party. A few years back, during a summer cookout, I famously attempted a complicated layered cake that ended in a teetering, frosting-covered mess. After that fiasco, I decided enough was enough! I needed a go-to recipe that would satisfy my sweet tooth without the hassle. That’s when I stumbled upon my all-time favorite: No-Bake Cookies!
These cookies have become my secret weapon for stress-free entertaining. They’re quick, require minimal effort, and best of all, they’re utterly delicious—just like a warm hug on a plate. Whether it’s a backyard barbecue or a casual Friday night with friends, these No-Bake Cookies have saved me time and stress more times than I can count.
Why These Are No-Bake Cookie Gold
– Quick and Easy: With just a handful of ingredients and no oven required, you’ll have a delightful dessert ready in less than 30 minutes.
– Make-Ahead Marvel: They set perfectly in the fridge, making them ideal for prepping in advance, so you can enjoy your event without the pressure of last-minute baking.
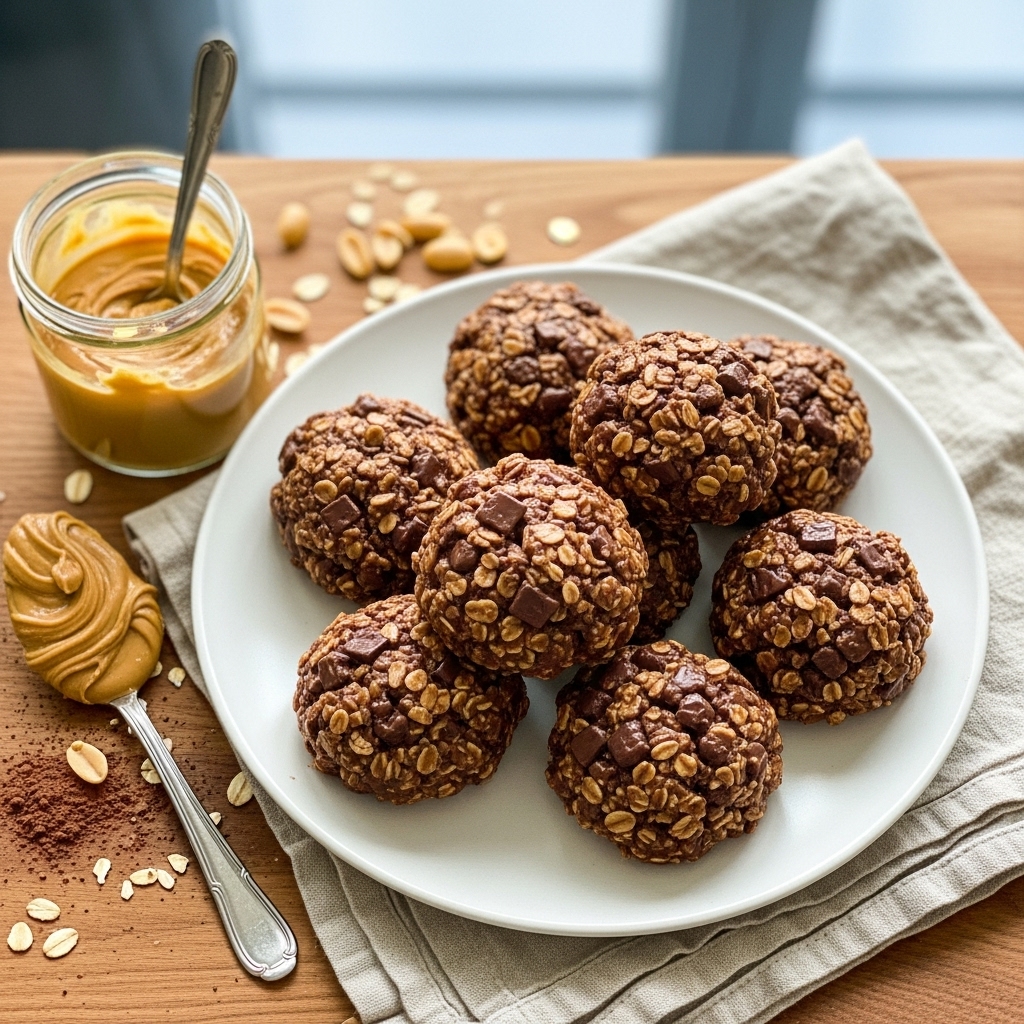
– Crowd-Pleasers: The combination of chocolate and peanut butter is a universal favorite. I’ve seen friends grab seconds (or thirds!) without hesitation.
– Minimal Cleanup: One pot is all you need. Less fuss means more time to enjoy the company of your guests!
I remember once at a friend’s picnic, I brought along these No-Bake Cookies. As I set them out on the table, one of my friends exclaimed, “Wow, you are the queen of desserts!” Little did she know I had barely broken a sweat making them!
Essential Components
Creating the perfect No-Bake Cookie is all about the right ingredients. Here’s what you’ll need and why they’re essential:
– Sugar: The sweet foundation that binds everything together, giving your cookies the perfect sugary crunch.
– Milk: Adds richness and helps create the delicious chocolatey mixture. I prefer whole milk for an extra creamy texture.
– Unsalted Butter: A must for that melt-in-your-mouth consistency, the butter melds all the flavors beautifully.
– Cocoa Powder: This brings in the chocolatey depth that makes these cookies a treat for any chocolate lover.
– Quick Oats: Not just for breakfast! They give the cookies their chewy texture and provide a hearty feel.
– Creamy Peanut Butter: The star of the show! It adds nutty goodness and richness, creating that classic flavor combo.
– Vanilla Extract: A splash of vanilla elevates everything, rounding out the flavors with a comforting warmth.
Note: You’ll find the complete list of ingredients, along with their exact measurements, in the printable recipe card at the bottom of this post.
Creating No-Bake Cookie Magic
Let’s dive into the simple steps to whip up these little nuggets of joy!
1. Combine the Base
In a large pot, combine sugar, milk, unsalted butter, and cocoa powder. Place over medium heat and whisk slowly to bring the mixture to a gentle boil. Keep whisking until it bubbles away—a minute should do it! (I like to set a timer so I don’t forget.)
2. Mix in the Goodies
Once your concoction is boiling, take it off the heat and stir in the quick oats. Make sure they’re fully incorporated for that chewy goodness. Then, add in the creamy peanut butter and mix well until it’s all smooth and dreamy. Finally, a splash of vanilla extract and give it one last mix.
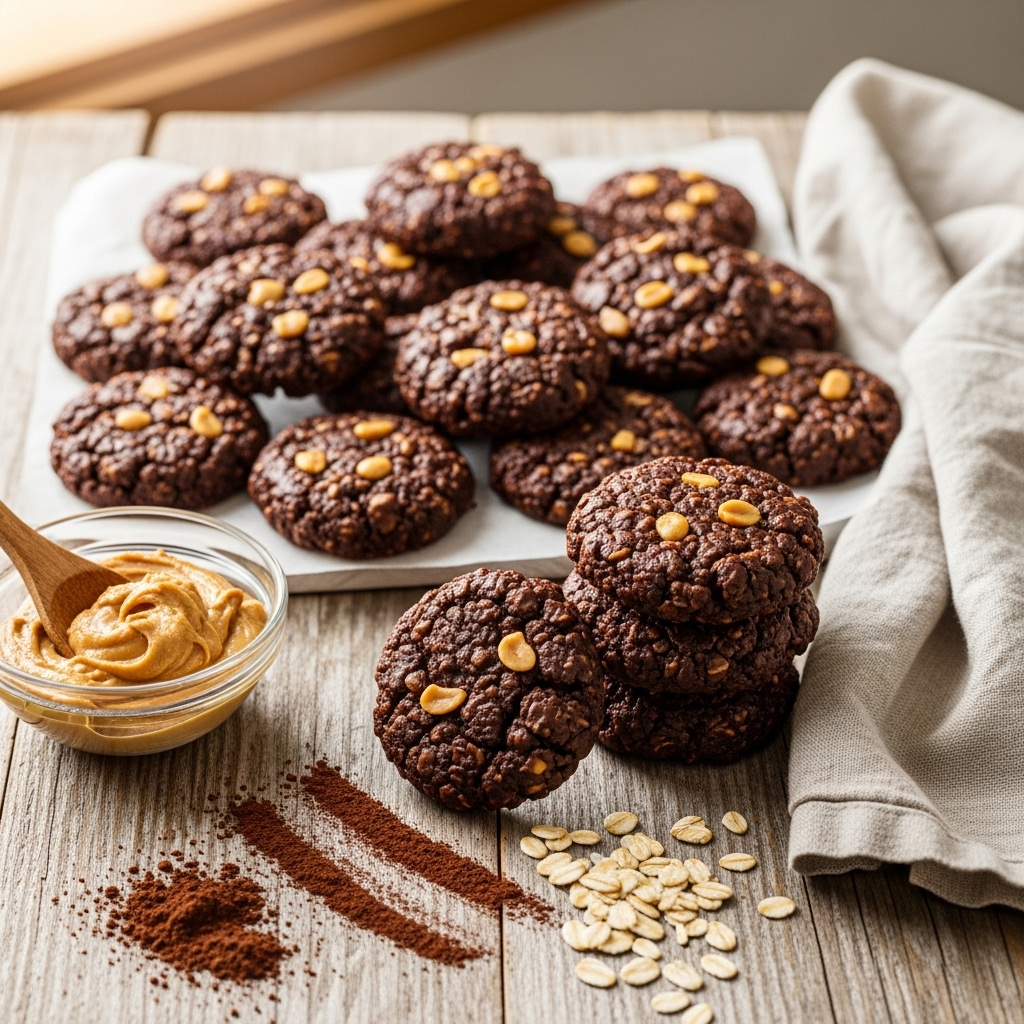
3. Shape the Cookies
Now comes the fun part! Lay out some parchment paper on your counter. Using a spoon (or if you’re feeling fancy, a cookie scoop), drop spoonfuls of the mixture onto the paper, shaping them into little cookie mounds. Let them set for 15-30 minutes at room temperature, or pop them in the fridge to speed things up.
Insights & Why It Works
What makes these No-Bake Cookies truly shine is their simplicity. The boiling process allows the sugar and cocoa to meld together, giving you that rich chocolate flavor. Plus, by using quick oats instead of traditional rolled oats, you get a softer texture that’s perfectly chewy without feeling heavy.
The peanut butter not only contributes flavor but also richness, while the vanilla adds a soothing aroma that makes your kitchen feel like home. And let’s not forget the ease of the whole process! With just one pot to clean, I often find myself looking for excuses to make these cookies again and again.
Through trial and error, I’ve learned a few lessons. One of my “aha!” moments was realizing the importance of letting the mixture cool slightly before shaping the cookies; this keeps them from spreading too much!
Perfect Dessert Presentation
When it comes to serving these cookies, I love to sprinkle a few flaky sea salt crystals on top for a sophisticated touch. They look beautiful arranged on a vintage platter—perhaps alongside a pitcher of freshly brewed iced coffee or a tall glass of milk. For a picnic, stack them in a cute tin for an effortless dessert that’s easy to transport.
Creative Variations
These No-Bake Cookies are wonderfully adaptable! Here are a few ideas to mix things up:
– Nutty Variation: Swap out the peanut butter for almond butter or sunflower seed butter for a nut-free version.
– Add Some Crunch: Toss in some chopped nuts or mini chocolate chips for extra texture and flavor.
– Flavor Twist: Experiment with different extracts like almond or coconut for a unique flavor profile.
– Coconut Lovers: Fold in some toasted shredded coconut for a tropical twist.
Make-Ahead Magic
The beauty of these No-Bake Cookies lies in their make-ahead capabilities. Simply prepare the cookies, spoon them out onto parchment, and let them set. Once they’re firm, store them in an airtight container in the fridge for up to a week. This way, you can have a delightful treat ready to serve without any last-minute fuss!
No-Bake Cookie Success Tips
– Don’t Rush the Boil: Let the mixture boil for the full minute to ensure it sets properly.
– Mix Quickly: Once the oats and peanut butter are added, work quickly to spoon out the cookies before the mixture cools too much.
– Use Parchment Paper: This will help the cookies release easily and prevent sticking.
– Experiment with Mix-Ins: Don’t be afraid to get creative with your favorite add-ins!
Final Thoughts
Reflecting on that summer cookout where I first served these No-Bake Cookies, it’s evident how they transformed my hosting experience. No longer overwhelmed by complicated recipes, I felt like a dessert rockstar with minimal effort. These cookies not only satisfy a sweet craving but also allow me to truly enjoy the company of friends and family. The ease and joy they bring to any gathering make them an essential part of my recipe repertoire.
So go ahead, grab your ingredients, and get ready to whip up a batch of these delightful No-Bake Cookies. You’ll be basking in the compliments before you know it!
Frequently Asked Questions
Can I make these the night before?
Absolutely! In fact, they taste even better the next day after chilling in the fridge.
How do I prevent them from being too gooey?
Make sure to boil the mixture for a full minute. This helps to set the cookies properly.
Can I use a different type of nut butter?
Yes! Almond butter, cashew butter, or even sunflower seed butter work wonderfully.
What’s the difference between quick oats and rolled oats?
Quick oats are processed to cook faster and create a softer texture, making them perfect for these cookies.
Can I add other mix-ins?
Definitely! Feel free to get creative with chocolate chips, dried fruit, or nuts. The possibilities are endless!