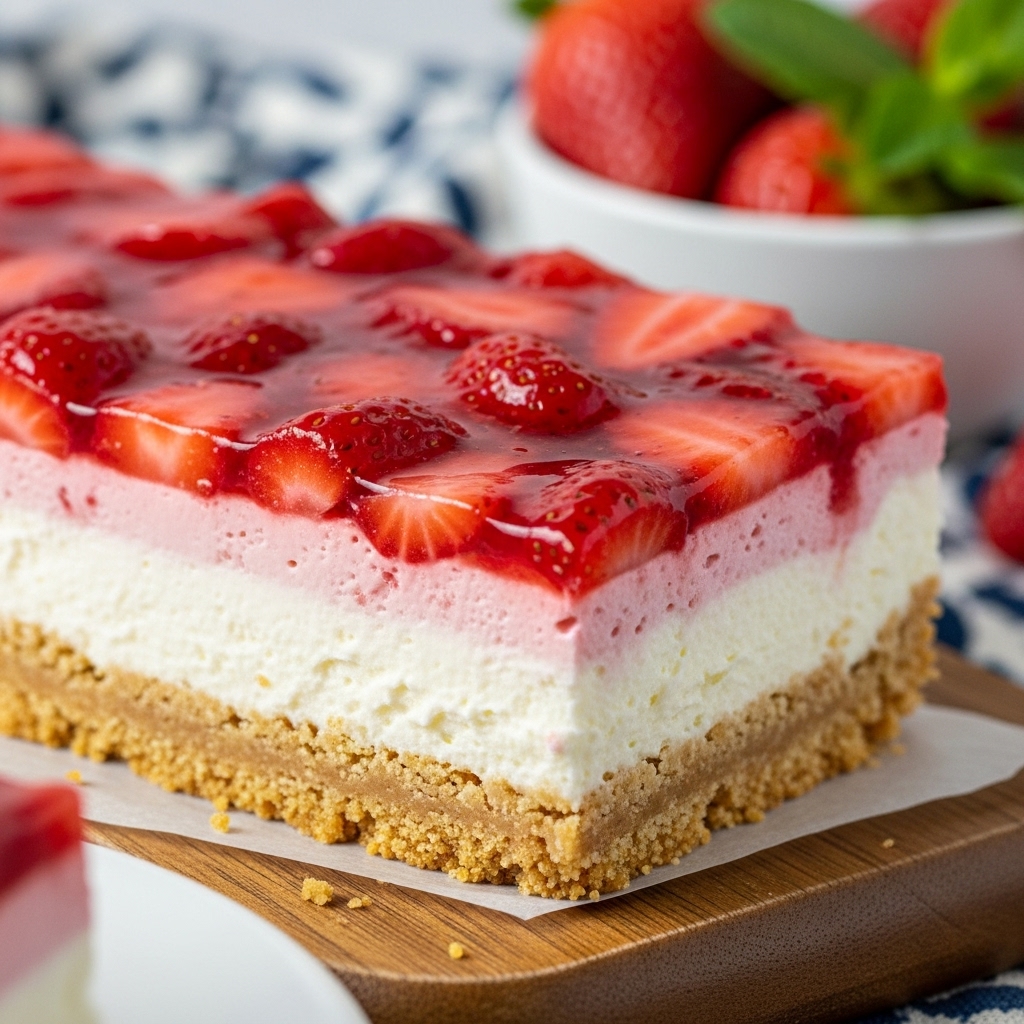
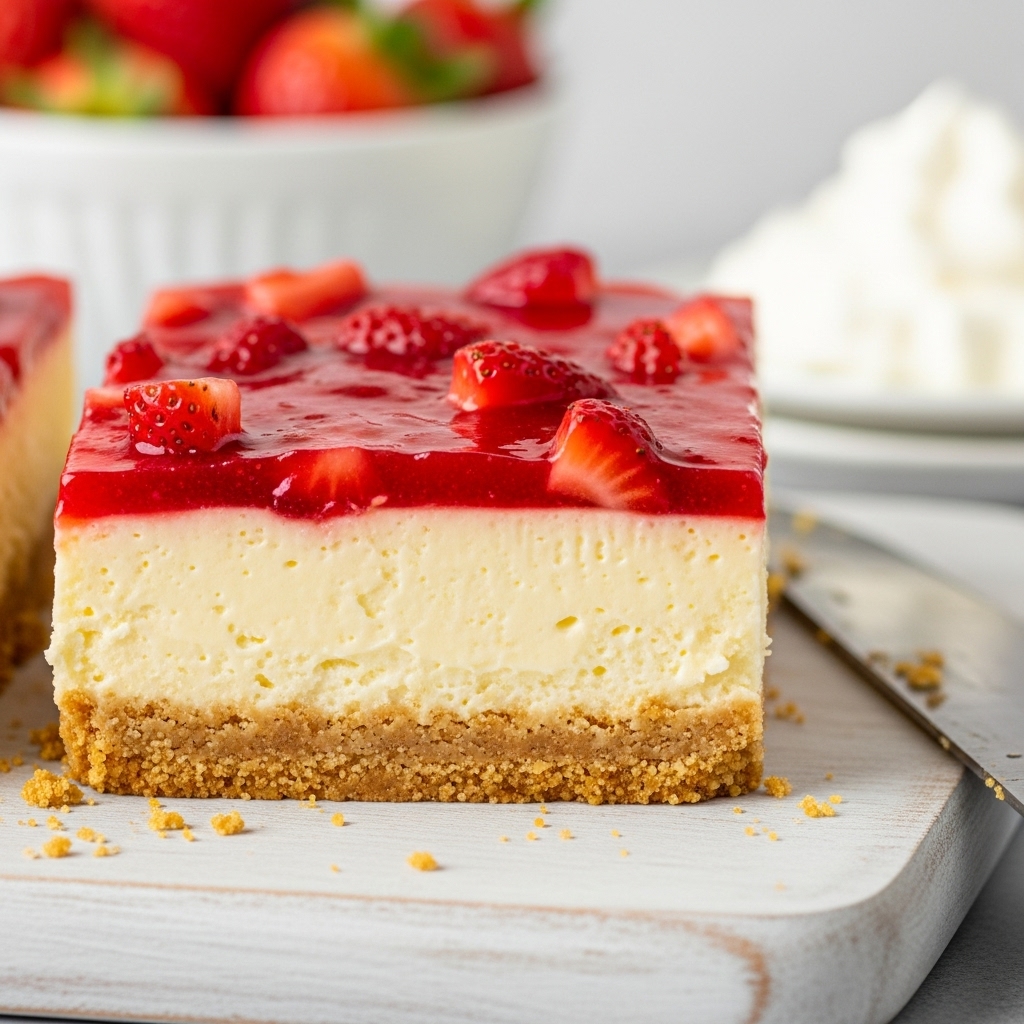
No-Bake Strawberry Cheesecake Bars
The Effortless Sweet Treat Everyone Will Love (No-Bake Strawberry Cheesecake Bars)
There’s something magical about summer gatherings: the laughter of friends, the sweet scent of blooming flowers, and of course, the irresistible dessert spread that comes with it. A few years back, I found myself in a bit of a pickle when my friend Molly decided to host an impromptu BBQ. The invitation was sent out one sunny Saturday morning, and before I could even sip my coffee, I had committed to bringing dessert. I love baking, but with the heat and a time crunch, I knew I needed a quick, no-fuss solution that would still impress everyone. Enter my secret weapon: No-Bake Strawberry Cheesecake Bars.
These bars became my go-to dessert for any occasion—quick to whip up, refreshing, and guaranteed to be a crowd-pleaser. Trust me, you’ll want to keep this recipe in your back pocket for those “what do I bring?” moments.
Why These Are Dessert Gold
– No Baking Required: Perfect for those hot summer days when the thought of turning on the oven sounds unbearable.
– Make-Ahead Convenience: Easily prepare these bars the day before your event, allowing you to enjoy your time with guests.
– Crowd-Pleasing Flavor: The creamy cheesecake combined with fresh strawberries creates a flavor explosion that will leave everyone asking for seconds.
– Customizable Topping: Swap in your favorite fruits or sauces to make these bars uniquely yours. As my friend Laura says, “They’re like a blank canvas for your dessert dreams!”
– Impressive Yet Simple: The layered look makes you appear like a pro in the kitchen without requiring much effort.
Essential Components
To create these delightful No-Bake Strawberry Cheesecake Bars, you only need a handful of simple ingredients that work together harmoniously to craft something spectacular.
– Graham Cracker Crumbs: The foundation of our crust, these add a delightful crunch and buttery flavor that perfectly balances the creamy filling.
– Unsalted Butter: Helps bind the crumbs together while adding richness to the crust.
– Cream Cheese: The star of the show! Its creamy texture provides that signature cheesecake taste we all love.
– Powdered Sugar: Sweetens the cheesecake filling without graininess, making it smooth and velvety.
– Heavy Cream: Whipped to perfection, it adds lightness to the filling, making each bite feel like a cloud of deliciousness.
– Fresh Strawberries: The perfect topping that not only adds a pop of color but also brings a fresh, fruity sweetness that brightens the entire dessert.
Note: You’ll find the complete list of ingredients, along with their exact measurements, in the printable recipe card at the bottom of this post.
Creating Cheesecake Magic
Now, let’s dive into the fun part—making these scrumptious bars!
1. Make the Crust:
– In a medium bowl, combine the graham cracker crumbs and granulated sugar. The aroma of those crushed crackers is already bringing back summer memories!
– Stir in the melted butter until everything is well combined and resembles wet sand. Think about building a sandcastle—pack that mixture tightly!
– Press the crust mixture firmly into the bottom of a 9×9-inch square baking dish (or a 9-inch round pan, if you’re feeling fancy). A flat-bottomed glass works perfectly for this; just remember: the firmer you pack it, the better it will hold together.
– Refrigerate the crust while you prepare the filling.
2. Prepare the Cheesecake Filling:
– In a large mixing bowl, beat the softened cream cheese with an electric mixer until smooth and creamy. You want it to be fluffier than a cloud!
– Gradually add in the powdered sugar and vanilla extract, continuing to beat until well combined. The sweet smell of vanilla will have you dreaming of desserts!
– In a separate bowl, whip the heavy cream until stiff peaks form—careful not to over-whip it, or you’ll end up with butter (which, let’s be honest, is also delicious but not what we want here).
– Gently fold the whipped cream into the cream cheese mixture until fully incorporated and smooth. This step is where the magic happens!
– Spread the cheesecake filling evenly over the chilled crust, smoothing the top with a spatula.
3. Make the Strawberry Topping:
– In a small saucepan, combine the chopped strawberries, granulated sugar, and lemon juice. This mixture will elevate your bars to new heights!
– Heat over medium heat, stirring occasionally, until the strawberries release their juices and the mixture becomes syrupy—around 5-7 minutes should do it.
– Remove from heat and let the topping cool to room temperature. If you prefer a smoother topping, mash the strawberries lightly with a fork or blend them for a velvety finish.
4. Assemble the Bars:
– Once the strawberry topping has cooled, spoon it evenly over the cheesecake layer. The vibrant red strawberries against the creamy filling make for a stunning presentation!
– Refrigerate the bars for at least 4 hours, or preferably overnight. This wait is well worth it as it allows the layers to set beautifully.
5. Serve:
– When ready to serve, cut into squares or bars, and prepare for the compliments to roll in. Enjoy the creamy, refreshing flavor of these no-bake cheesecake bars!
Insights & Why It Works
What makes these No-Bake Strawberry Cheesecake Bars so extraordinary is not just their delightful flavor, but also the ease and convenience of the no-bake method. By eliminating the oven time, you save precious minutes that can be spent mingling with guests or setting up your summer spread. Each layer complements the other beautifully, with the crisp graham cracker crust providing the perfect crunch against the creamy filling.
The addition of fresh strawberries is not just a sweet touch; they bring a burst of freshness that brightens every bite. Plus, the syrupy topping adds a glossy finish that simply screams summer celebrations. Throughout my various attempts at perfecting this recipe, I learned that allowing the bars to set overnight is essential—patience truly pays off when it comes to desserts!
Perfect Summer Presentation
When it comes to serving these gorgeous bars, presentation is key. Consider garnishing with a few whole strawberries on top or a sprinkle of mint leaves for a pop of color. You can even drizzle some chocolate sauce for a decadent touch. Pair them with a refreshing lemonade or a glass of chilled rosé for the ultimate summer gathering vibe. Just imagine your friends’ faces lighting up as they dig into these beauties!
Creative Variations
One of my favorite aspects of this recipe is its adaptability. Here are a few creative twists you can try:
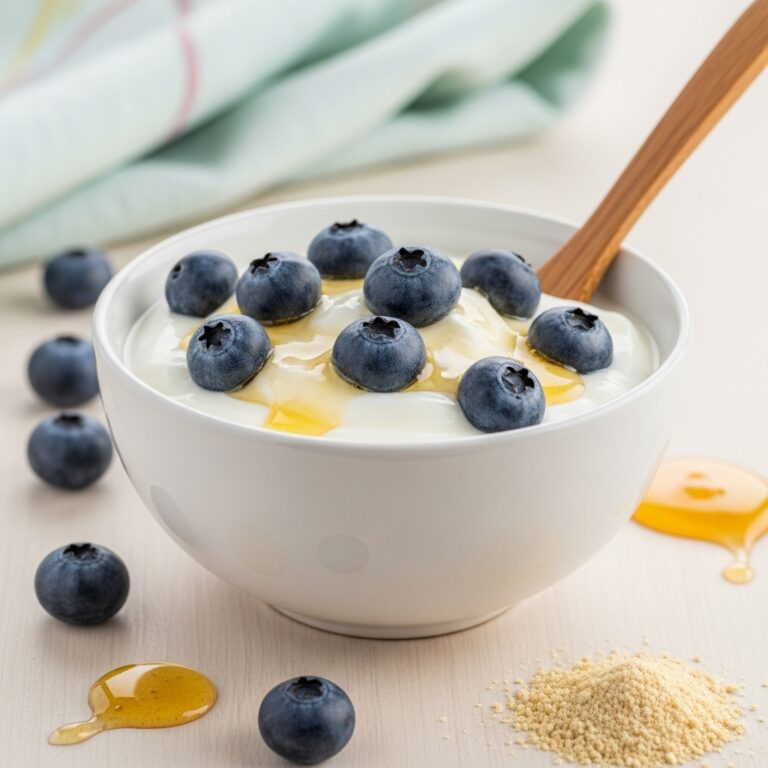
– Berry Medley: Swap out the strawberries for a mix of blueberries and raspberries for a colorful twist.
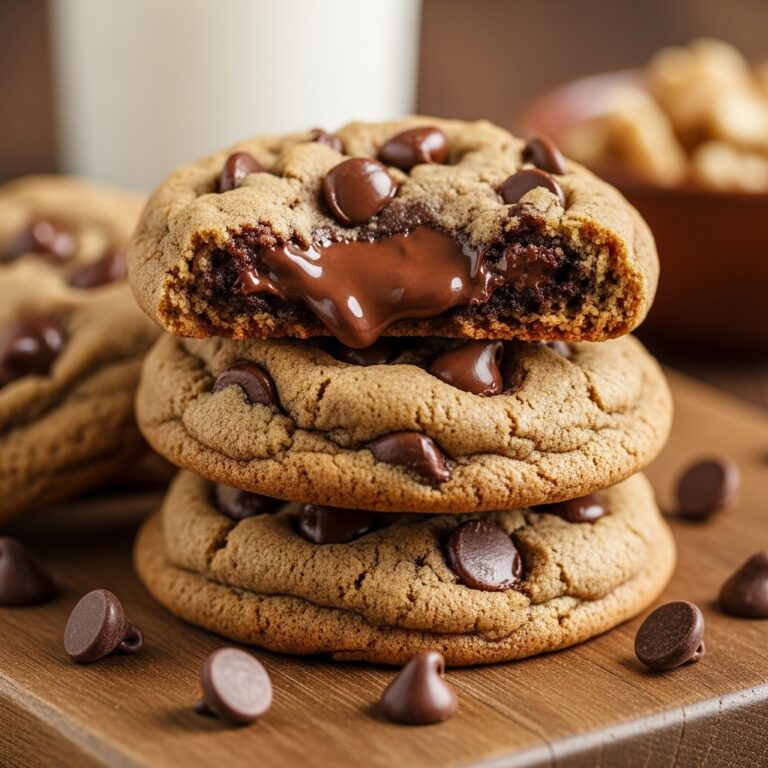
– Chocolate Lover’s Delight: Fold in mini chocolate chips into the cheesecake filling or drizzle melted chocolate on top for a rich addition.
– Nutty Crunch: Add crushed nuts to the crust for an added crunch and flavor.
– Citrus Zing: Incorporate lemon or lime zest into the cheesecake filling for a refreshing citrus pop.
– Tropical Escape: Use fresh mango or pineapple in place of strawberries for a tropical version that’ll transport you straight to the beach.
Make-Ahead Magic
One of the biggest advantages of these No-Bake Strawberry Cheesecake Bars is how well they lend themselves to make-ahead preparation. You can whip them up the night before, store them covered in the fridge, and they’ll be ready to serve when you are. This means less stress for you and more time to enjoy your gathering! Just remember, the longer they chill, the better the flavors meld.
Cheesecake Success Tips
– Use Softened Cream Cheese: Make sure your cream cheese is at room temperature to ensure a smooth filling without lumps.
– Don’t Rush the Whipping: Be patient when whipping the cream; stiff peaks make for a lighter filling.
– Pack the Crust Firmly: The more compact your crust, the easier it will be to cut the bars without crumbling.
– Let Them Chill: For the best texture and flavor, refrigerate the bars for as long as possible before serving.
Final Thoughts
Reflecting on that summer BBQ with Molly, I can still feel the warmth of the sun, the laughter echoing around the patio, and the joy of sharing these No-Bake Strawberry Cheesecake Bars with friends. They’re not just a dessert; they’re a sweet memory waiting to happen. This recipe is truly a lifesaver for anyone looking to impress or simply enjoy a delicious treat without the hassle. So next time you’re in need of a quick and impressive dessert, you’ll feel effortlessly competent with this recipe in your arsenal. Get ready to bask in the compliments and enjoy those delightful moments!
Frequently Asked Questions
Can I make these the night before?
Absolutely! These bars are perfect for make-ahead preparation. In fact, they taste even better after chilling overnight.
How do I prevent the filling from being lumpy?
Ensure your cream cheese is softened to room temperature before mixing. This helps achieve a smooth and creamy filling.
Can I use different fruits?
Yes! Feel free to swap out the strawberries for any of your favorite fruits like blueberries, raspberries, or even peaches.
What’s the best way to store leftovers?
Store any leftovers in an airtight container in the fridge for up to 3 days. Just make sure to keep them chilled to maintain their texture!
Can I freeze these bars?
Yes, you can freeze them! Just wrap them tightly in plastic wrap and aluminum foil. Thaw them in the fridge before serving for the best texture.