Layered Rainbow Jelly
Rainbow Jelly Madness! 🌈
Okay, so who doesn’t love a dessert that’s basically a party in a pan? Seriously! I mean, layered rainbow jelly is like the most fun you can have with your food. You can stare at it, take a million pics for Instagram, and then—wait for it—eat it! Yum!
So, picture this: it’s a sunny Saturday, right? I’m scrolling through Pinterest like the good little home cook I am (procrastinating on chores, ha!), and I stumble upon this colorful jelly creation. I SPRING out of my chair, grab my apron, and hit the kitchen like it’s a cooking competition. The kids? They’re already circling me like hungry hawks. I’m like, “Chill, I need to make this first!” But the excitement is real.
Okay, Let’s Talk Ingredients
Alright, let’s hit the grocery store. You’re gonna want to grab:
– 3 oz (that’s 85g for the non-imperial folks) of jelly packets in ALL the colors! I went for grape, berry blue, lime, lemon, orange, and raspberry ’cause why not, right?
– 16 teaspoons of unflavored Vegan Gelatine (yes, I said teaspoons, don’t mess that up!).
– 1 1/2 cans of condensed milk (seriously, this makes it creamy and delish).
– And 8 1/2 cups of boiling water. Yep, you heard me.
The cashier definitely looked at me funny when I had all these packets and cans, but I just smiled and thought, “Trust the process!” 😅
So Here’s Why I Make This Constantly
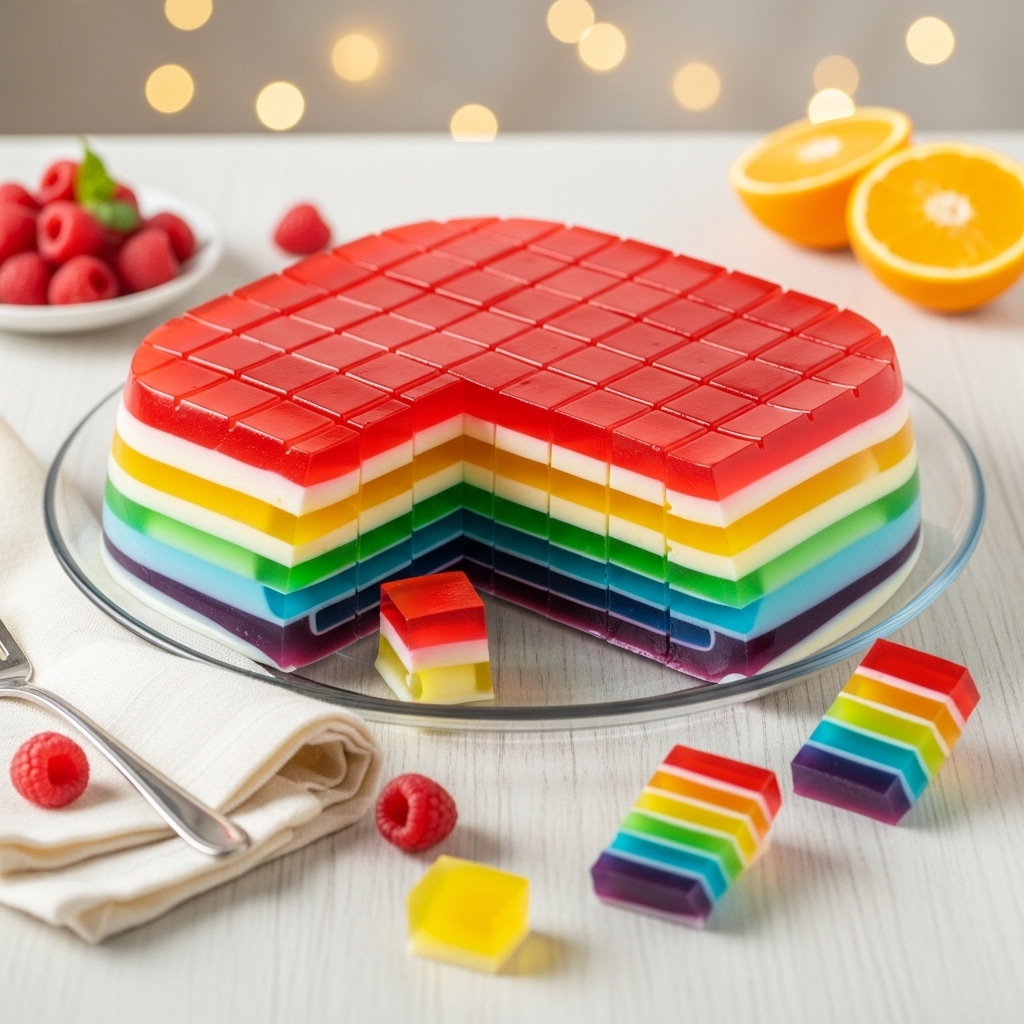
Okay, so here’s the real tea. I make this jelly like ALL the time because it’s a total crowd-pleaser! I first made it for my niece’s birthday party (she’s obsessed with rainbows). It took a bit of time, sure, but when I pulled it out of the fridge and saw those vibrant layers—OMG, it was like a rainbow explosion! 🎉
And the kids? They went NUTS! I mean, who wouldn’t want to eat something that looks like a work of art? Plus, parents were snapping pics left and right. It turned into a whole moment, you know? And now the kids always ask, “Auntie, when are you making that jelly again?”
The One Trick That Changes Everything
Okay, listen up, this is the secret sauce—or, you know, jelly. You HAVE to let each layer set completely before adding the next. Like, I know it’s tempting to rush, but don’t do it! I learned that the hard way. My first attempt was a mushy rainbow mess. So, patience, my friend. Chill it for at least 30 minutes before adding the next layer. Trust me.
Don’t Mess This Up (My Top Tips)
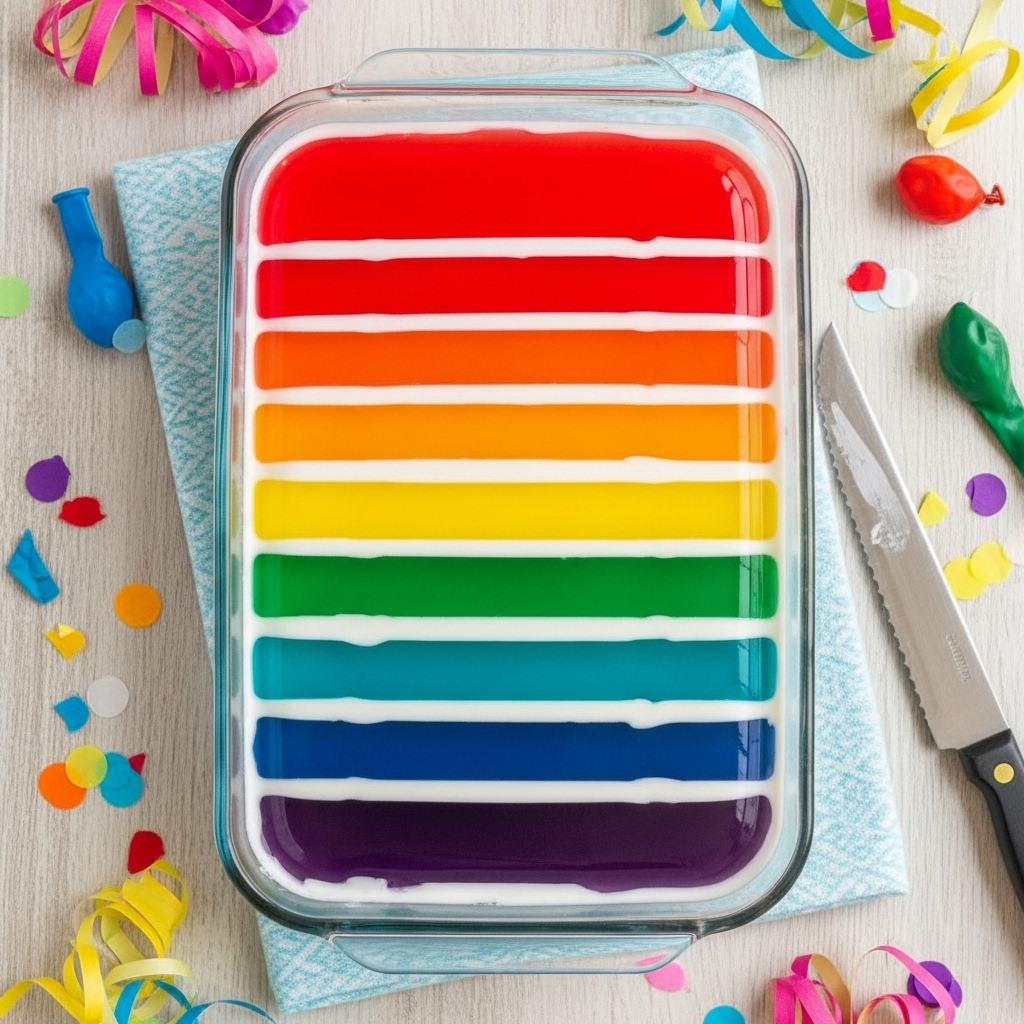
1. Flat Surface: Make sure your pan is totally flat in the fridge. A slanted pan = sad jelly layers.
2. Cool it Down: Before you pour the next layer, let it cool to room temp. No one likes a hot mess.
3. Serrated Knife vs. Paring Knife: If you use a serrated knife, you’ll get those cute marks in the jelly. If you don’t want marks, go for a plain ol’ paring knife.
How to Keep Them From Disappearing (Or, How to Store Them)
So, you’ve made this gorgeous jelly tower, and now you’re like, “How do I make it last?” Honestly, good luck! 😂 But if you must, keep it covered in the fridge. I use a big ol’ piece of plastic wrap. It’ll be good for about 3-4 days…if it lasts that long. I’m telling you, once the fam sees it, it’ll vanish faster than a magician’s rabbit.
If You Liked This, You’ll Probably Like These Too
– Jelly Cups: Same concept, but mini versions! Perfect for kids’ parties.
– Rainbow Fruit Salad: Just toss all the colorful fruits together. Boom!
– No-Bake Cheesecake: A dessert that’s just as fancy but way easier.
So, are you ready to dive into rainbow jelly world? Seriously, give it a shot and send me pics! What color combo do you think you’d go for? 🌈💖
Layered Rainbow Jelly
Flavor-packed Layered Rainbow Jelly with amazing ingredients and incredible taste! Perfect for any occasion.
Ingredients
- 3oz (85g) jelly packets in the colours that you want, (I used grape, berry blue, lime, lemon, orange and raspberry)
Instructions
- I found when making this, that I made each layer as I went and none of the layers started setting before they were put onto the slice.
- Purple Layer – Dissolve one packet of jelly with 1 teaspoon of Vegan Gelatine and 1 cup of boiling water. Stir until completely dissolved. Pour into a 9×13-inch glass pan and place in the fridge, making sure that the pan is sitting completely flat. Chill until completely set – about 30 minutes.
- White Layer – Make this layer straight after placing the previous layer in the fridge so that it has time to cool down. Mix 2 teaspoons of Vegan Gelatine with 1 cup of boiling water until completely dissolved. Stir in ½ can of condensed milk until combined. Let it sit on the counter to cool to room temperature and the previous layer is set.
- Once the purple layer is set, pour ¾ cup of the white layer over it and gently tilt the pan to distribute evenly. Return the pan to the fridge for 30 minutes to set and make the next layer.
- Blue Layer – Dissolve one packet of jelly with 1 teaspoon of Vegan Gelatine and 1 cup of boiling water. Stir until completely dissolved. Let it sit on the counter to cool to room temperature and the previous layer is set.
- Once the white layer is set, pour the blue jelly over the top, gently tilt the pan to distribute evenly. Return the pan to the fridge for 30 minutes to set and make the next jelly layer – green.
- Green Layer – Dissolve one packet of jelly with 1 teaspoon of Vegan Gelatine and 1 cup of boiling water. Stir until completely dissolved. Let it sit on the counter to cool to room temperature and the previous layer is set.
- Once the blue layer is set, pour ¾ cup of the white layer over it and gently tilt the pan to distribute evenly. Return the pan to the fridge for 30 minutes to set and make the next white layer. Make the next white layers.
- White Layer – Mix 2 teaspoons of Vegan Gelatine with 1 cup of boiling water until completely dissolved. Stir in ½ can of condensed milk until combined. Let it sit on the counter to cool to room temperature and the previous layer is set.
- Once the white layer is set, pour the green jelly over the top, gently tilt the pan to distribute evenly. Return the pan to the fridge for 30 minutes to set and make the next jelly layer – yellow.
- Once the green layer is set, pour ¾ cup of the white layer over it and gently tilt the pan to distribute evenly. Return the pan to the fridge for 30 minutes to set.
- Once the white layer is set, pour the yellow jelly over the top, gently tilt the pan to distribute evenly. Return the pan to the fridge for 30 minutes to set and make the next jelly layer – orange.
- Once the yellow layer is set, pour ¾ cup of the white layer over it and gently tilt the pan to distribute evenly. Return the pan to the fridge for 30 minutes to set. Make half of the white layer.
- White Layer – Mix 1 teaspoon of Vegan Gelatine with 1/2 cup of boiling water until completely dissolved. Stir in 1/4 can of condensed milk until combined. Let it sit on the counter to cool to room temperature and the previous layer is set.
- Once the white layer is set, pour the orange jelly over the top, gently tilt the pan to distribute evenly. Return the pan to the fridge for 30 minutes to set and make the next jelly layer – red.
- Once the orange layer is set, pour ¾ cup of the white layer over it and gently tilt the pan to distribute evenly. Return the pan to the fridge for 30 minutes to set.
- Once the white layer is set, pour the red jelly over the top, gently tilt the pan to distribute evenly. Return the pan to the fridge to set.
- Once all the layers are done and the jelly is set, slice into 1-inch squares. If you use a serrated blade knife, you will have marks in the jelly, if you use a flat knife, like a paring knife, you won't have any marks. A small spatula comes in handy when trying to get the jelly squares out of the tray.